
Creating a professional-quality video intro doesn’t have to be expensive or difficult. In this blog post, we’ll show you how to create beautiful video intros using the online design tool, Canva. By following our simple step-by-step guide, you can create an intro that will give your videos the polished look they deserve.
Many course instructors find the thought of having to create videos too daunting? Don’t worry, you’re not alone! Many people feel this way, but with a little bit of planning and preparation, you can create videos that are both professional and engaging. One way to add polish to your videos is by adding intro and outro animations. So read on if you’re ready to take your course videos up a notch!
What is a Video Intro and Outro?
A video intro is a short clip that introduces your brand or business at the beginning of a video. It can be as simple as your logo appearing on screen with some music, or it can be a more elaborate animation. An outro is similar to an intro, but it appears at the end of the video. It usually includes contact information or links to your website or social media pages. Course video intros can announce the module topic and the outro can summarize the key points discussed. I’ve used intros and outros to confirm the topic and summarize the steps.
Important for Student Engagement
In an online learning environment, video intros can orientate the learner and let them know what to expect. Video outros can summarize the key points discussed in the video and let them know what’s up next. They add a level of student confidence which improves engagement.
Canva has free templates
We’re going to use Canva along with some of their free video templates. This video shows you with a few quick edits you can produce a branded video intro without all the tech stress and hassle. I like to make these and add them to my videos in Descript, so they look really polished for my students.
In this article you will learn how to:
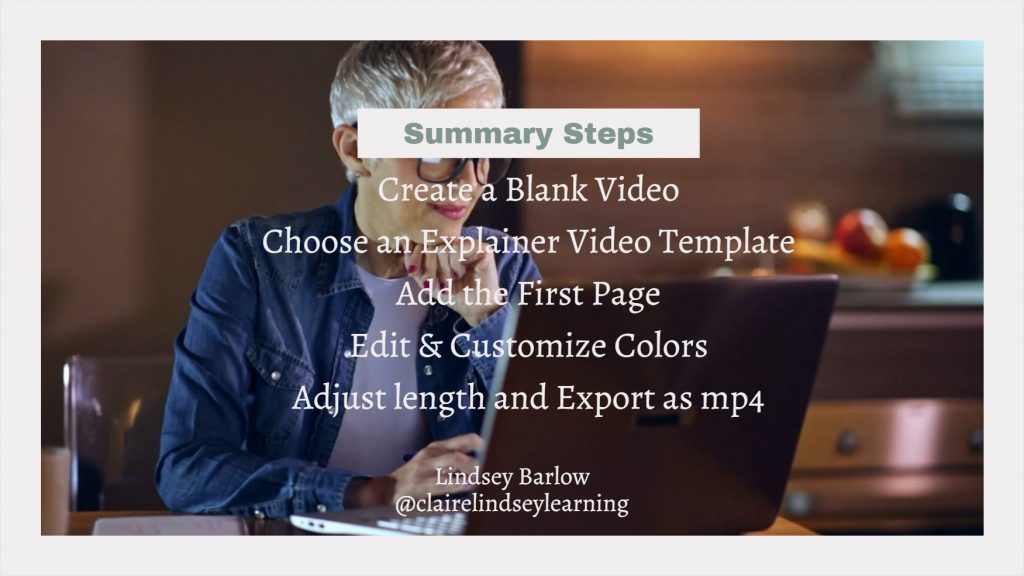
- Create a Blank Video.
- Choose an Explainer Video Template to start.
- Use an animated short video.
- Customize and switch out the video so it matches to topic of your course.
- Edit and customize the colors to match your brand
- How to adjust the length and export as an mp4 video file.
Read more about using Canva to help you create your course slides here.
Video Transcript – Canva Video Templates for Intros and Outros
[00:00:00]
[00:00:03] So I’m in Canva and I’m going to create a blank video. I’m just going to open a new design and here’s the blank video. it shows you lots of different video templates that you can use and you kind of feel free to explore them. But I like to go to explainer video and I click see.
[00:00:21] all then you can see when you roll over them, it shows you like the beginning, and this is what we want. We want to have a nice, animated beginning. So the one that I like, I’m going to click on this one and it has 13 different pages. So I don’t need all of those pages. I’m just going to have the first page, which is a five seconds.
[00:00:45] So this is the page. And if you play the video, you can see how this comes up. So, because they had episode one, I can change that to module one. So I can use this over and over again for the beginning of all the videos for my course, it must be how it comes up and it’s really nice. It doesn’t even have to be five seconds long or seven seconds long.
Intros can be short
[00:01:07] You could even make it smaller, but you can go in and edit it just like you can. Regular slide and you can put the course title here on a module title.
[00:01:23] And then of course, this is, a peach color, which is very nice, but you might want to brand it with your car. So I do this. This is a canvas pro feature, but you can just click on your brand colors and it will change it to any of the brand colors that you have. So I really like this one, but I don’t want the massage video because that doesn’t really match my course.
[00:01:49] So I’m going to go to video. And I generally go down to business, you know, depending on your course you can go down and choose a different type of image, something like the sky. That’s something like that. But I actually used this video of this lady using the computer. It is a pro feature. So let me see if I can find something that is free
[00:02:14] I’m going to put computer work and I’m going to click on this and select free and apply the filters
[00:02:27] and general
[00:02:29] Then,. I’m going to look to be, I like to kind of scroll right down because a lot of people don’t scroll down. This one’s pretty good. So.
[00:02:37] And it’s a little bit long, so let’s play it. We want to happen. Okay. I like that one, but I’m going to shorten the video to about three seconds. So what I can do if I. Share this, I can download it as an MP4 video and take it into de script and add it to the front of my module, one video. And then what I would do is edit it again for module two. And then I would download that video as an MP4 and put it right on the front of my module two video. So that’s a really easy way to make yourself really professional looking starters for your course video.
[00:03:27] Okay.
[00:03:28]
Time to Try it Yourself
So go ahead and add a little intro video to your course videos, it will make you look professional and can be a student engagement enhancement. If you need help getting started, let me know. I’m happy to walk you through the process or even do it for you. Until next time, keep learning and producing great content!
GET INSTANT ACCESS TO FREE MINI -TRAINING “ROADMAP TO A PROFITABLE COURSE”
